Index
Spars
-
Mast
-
Spar
- New spars are tough to get your hands on, a new extrusion is pricey.
- Best bet is to repair the one you've got. Atlantic Spars in Annapolis has straightened a bent mast.
-
Bottom Bracket
- J18 Mast
- Can get loose and need replacing: dwyermast.com
- There's a few pictures down in the Boom Vang Turning Block section.
-
Spreaders
- Spreader Tips/Angle
- Spreaders can corrode from normal wear or flex because of abnormal use
- can have them duplicated whenreplacingthe shrouds
-
Spar
-
Boom
"We just broke one of our boats' boom during a capsize. It clearly broke directly over the rivet holes for one of the mainsheet blocks. Other than that the boom is in good condition."
- I knew someone who repaired a break like that one with a wooden plug inside theboom. But it wasn't pretty (or lightweight)! For a replacement extrusion, you might try asking Jason Brown at White Bear Boatworks about what size you'd need.
- The boom failed there because that is (other than the gooseneck) the most loaded point (especially being mid-boom sheeted). There have been some dynamics involved where the boom was in compression with a solid object at that same moment, I don't know if that occurred or not, but it is no surprise that is where it failed. A repair, unless sleeve inside the extrusion will not be a safe repair.
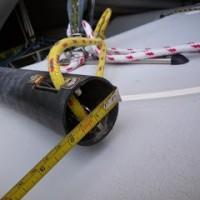
- I would buy a new boom section and move all the hardware. I'd start by checking the dimensions of your existing boom and then I would check the website for Dwyer Mast. Seems to me the have a similar or exact section

-
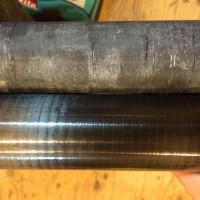
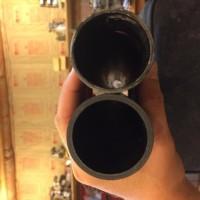
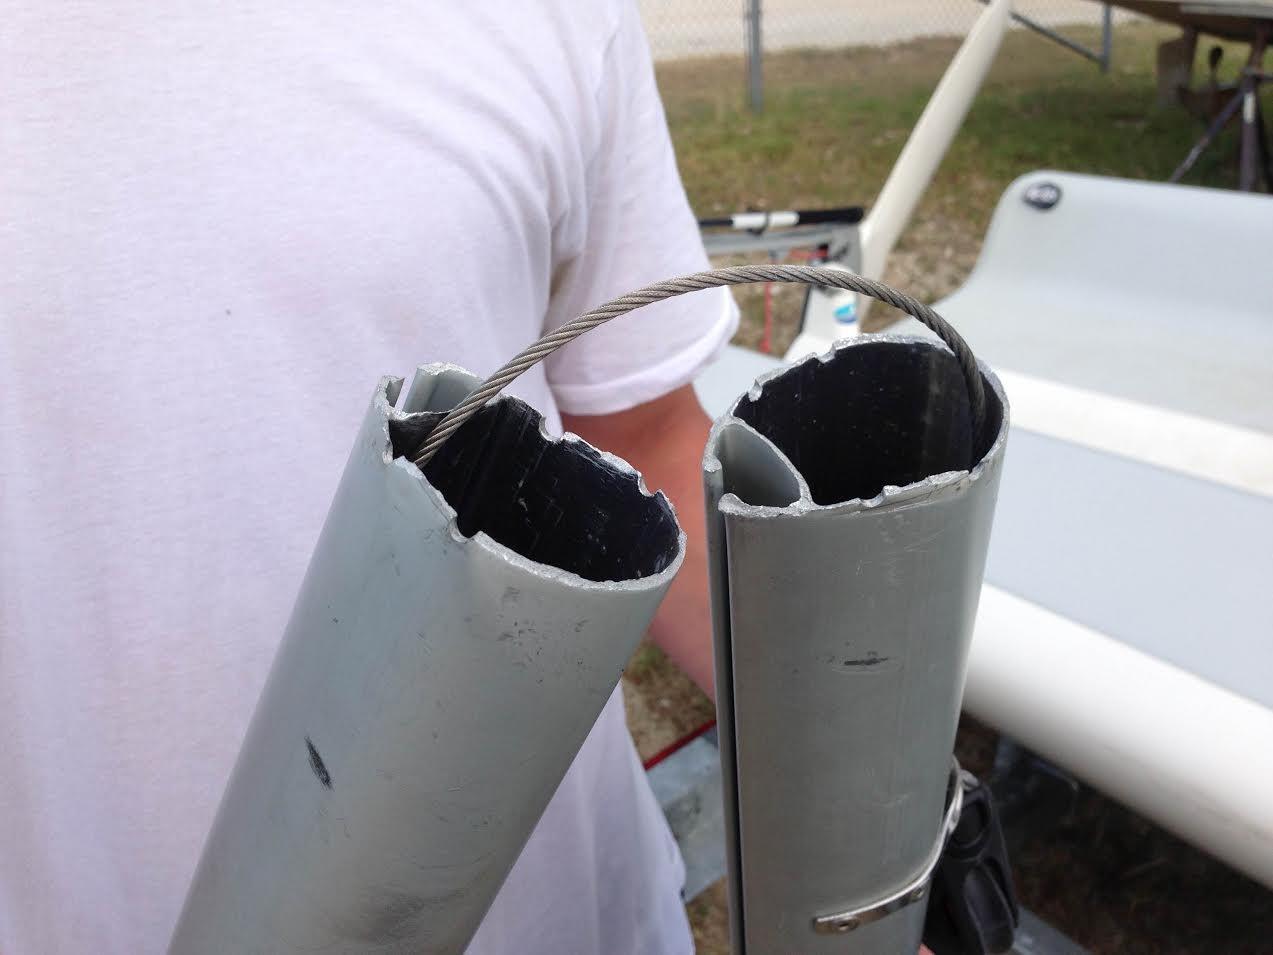
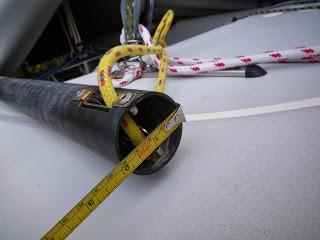
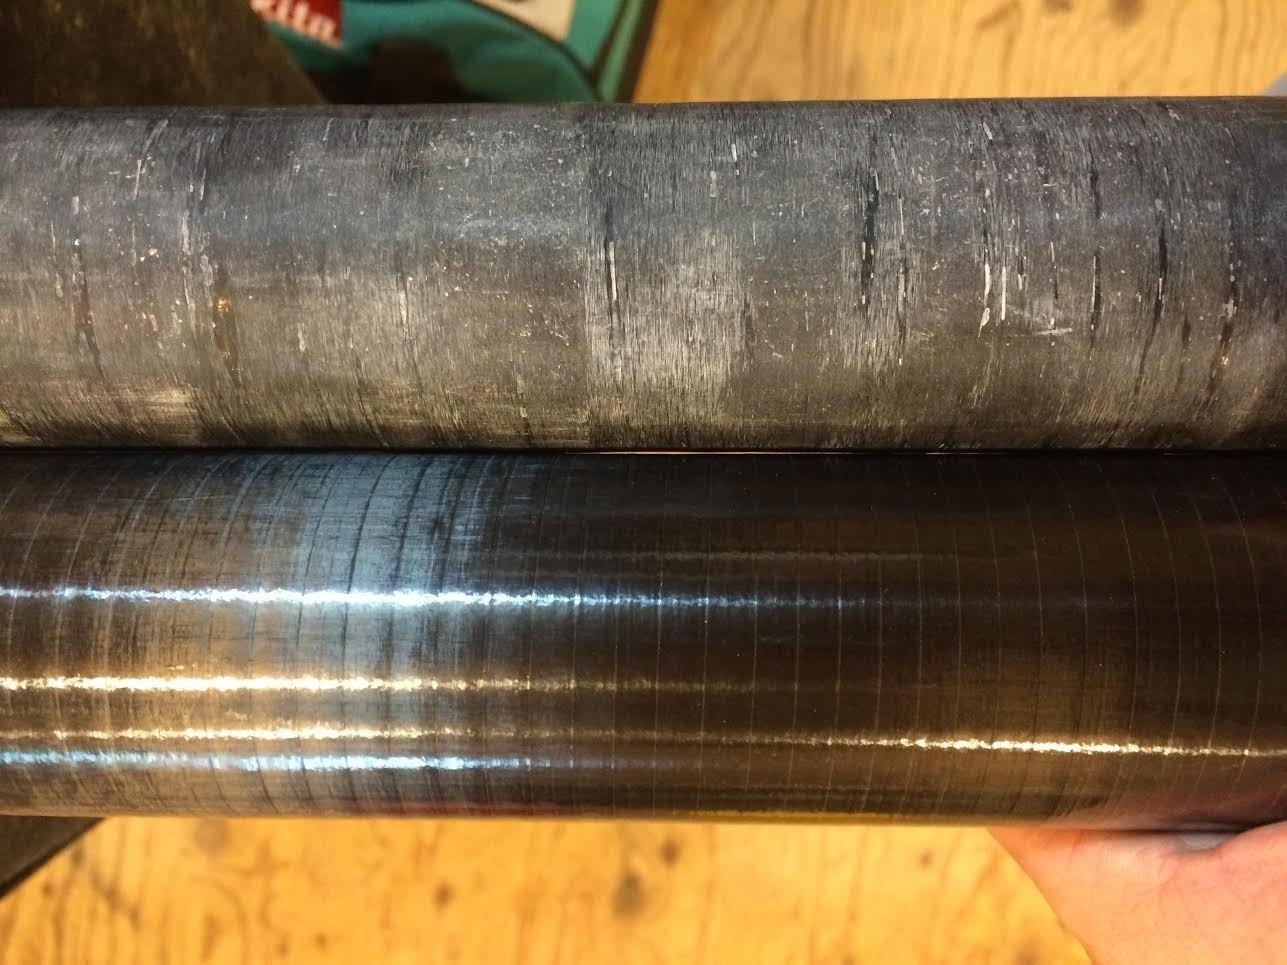
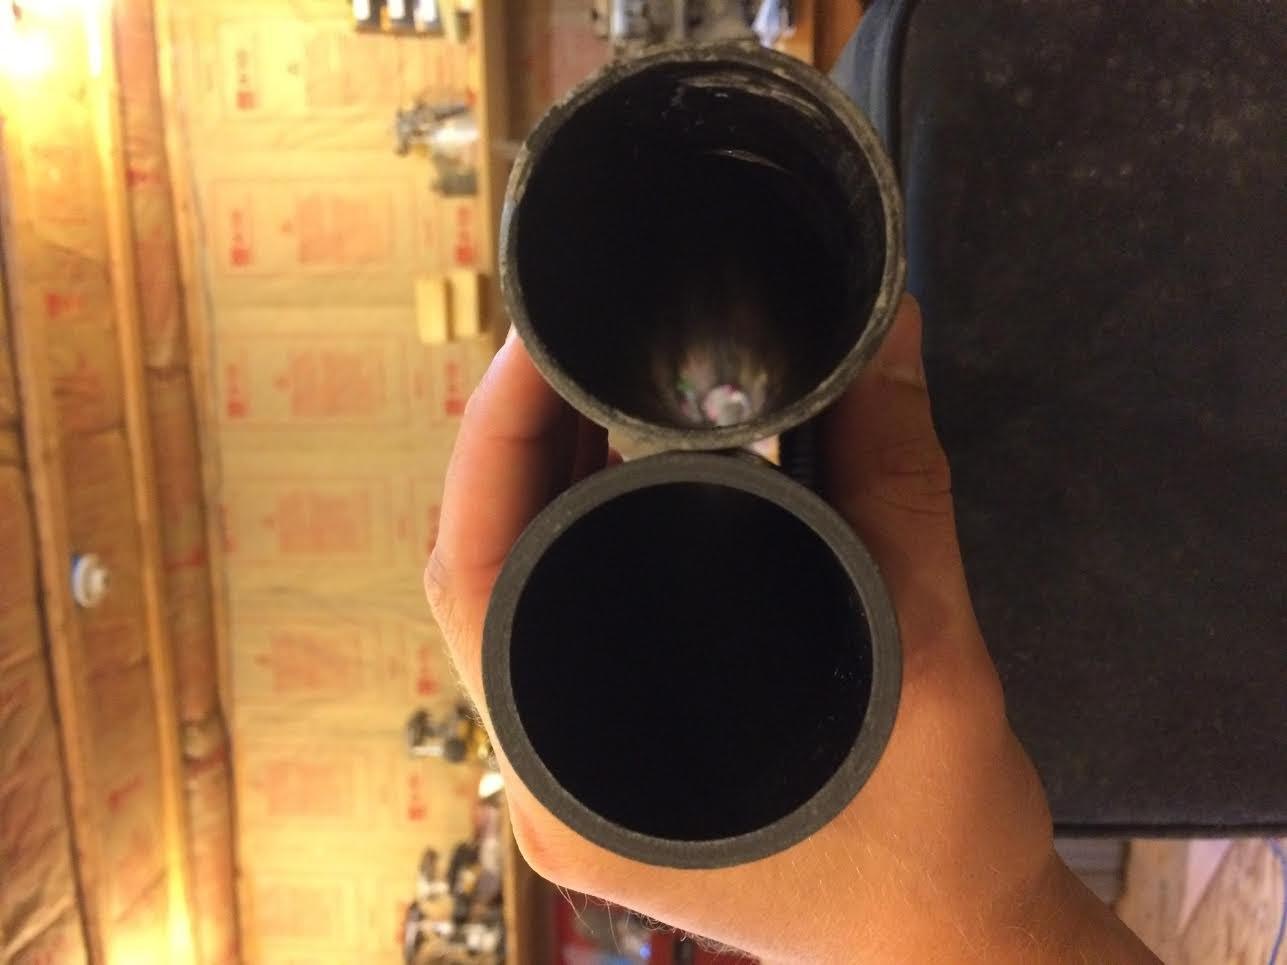
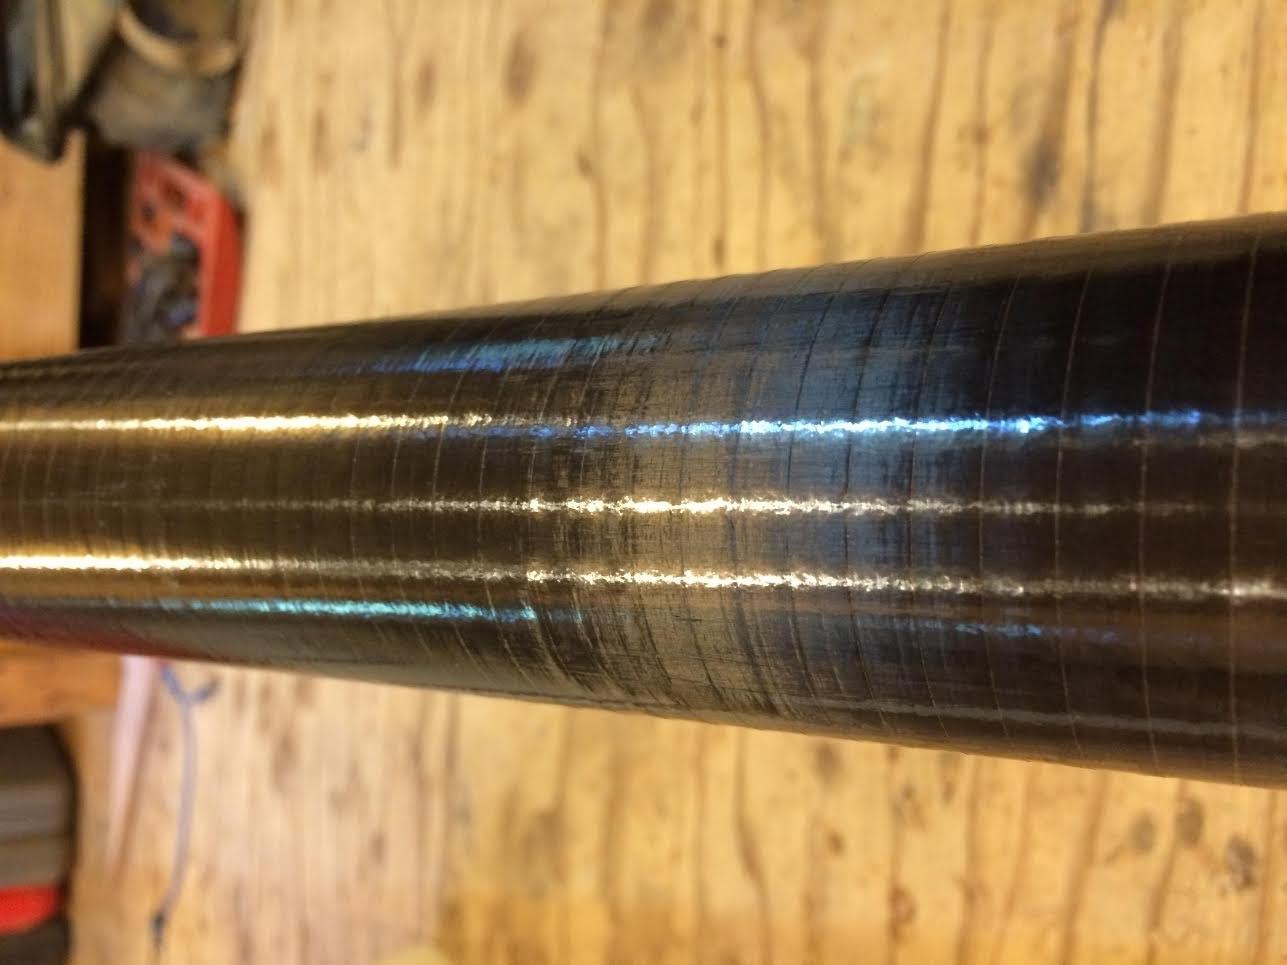
Spinnaker Pole
- Yes, the carbon pole can snap!
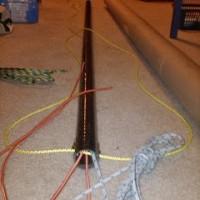
- Years of stress add up, unfortunately this is a part that doesn't lend itself to being repaired very well and probably will need to be replaced. We've had good results with Forte Carbon in CT building a custom pole using the existing fittings.
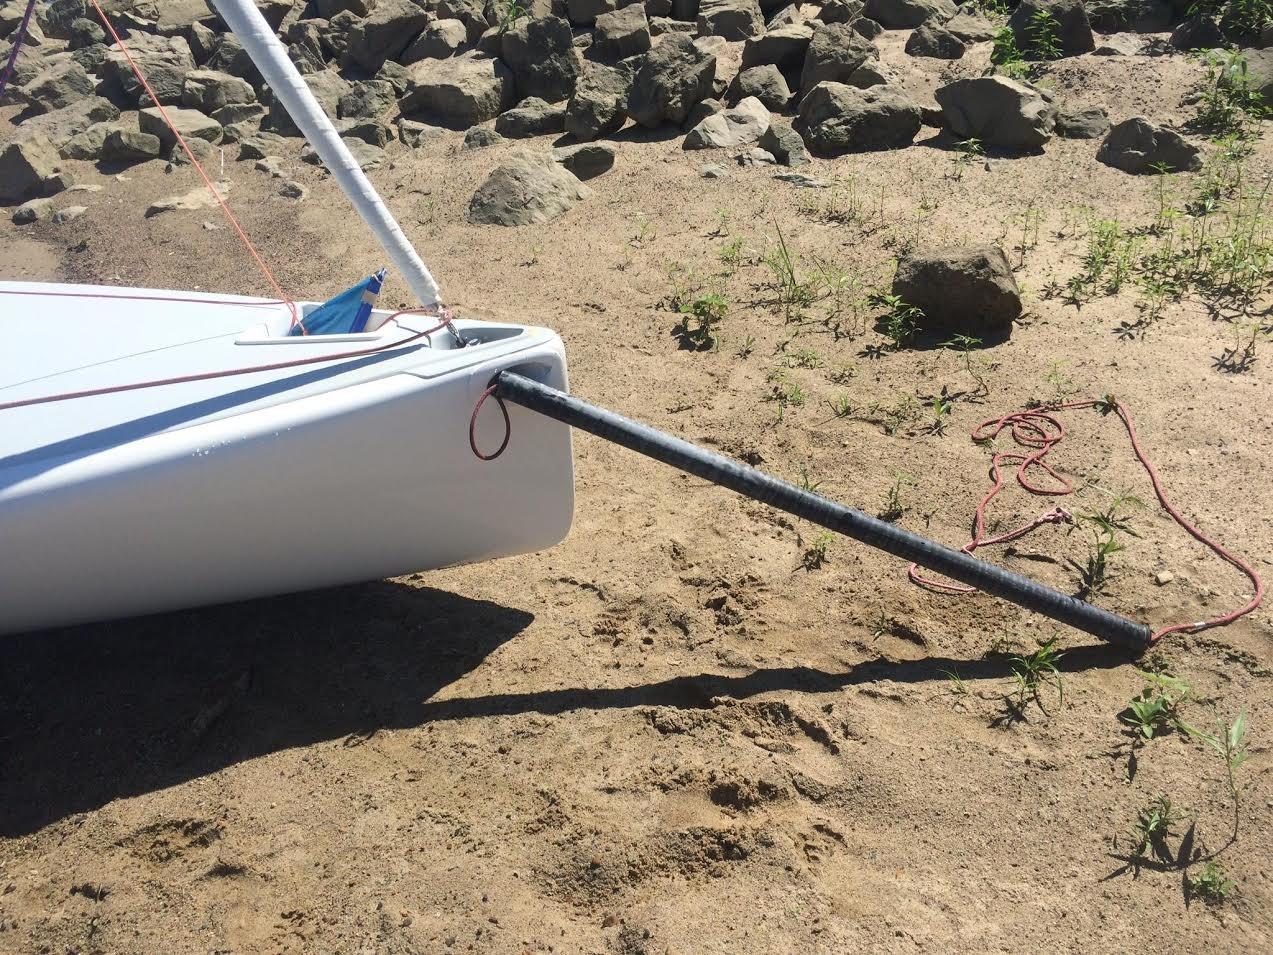
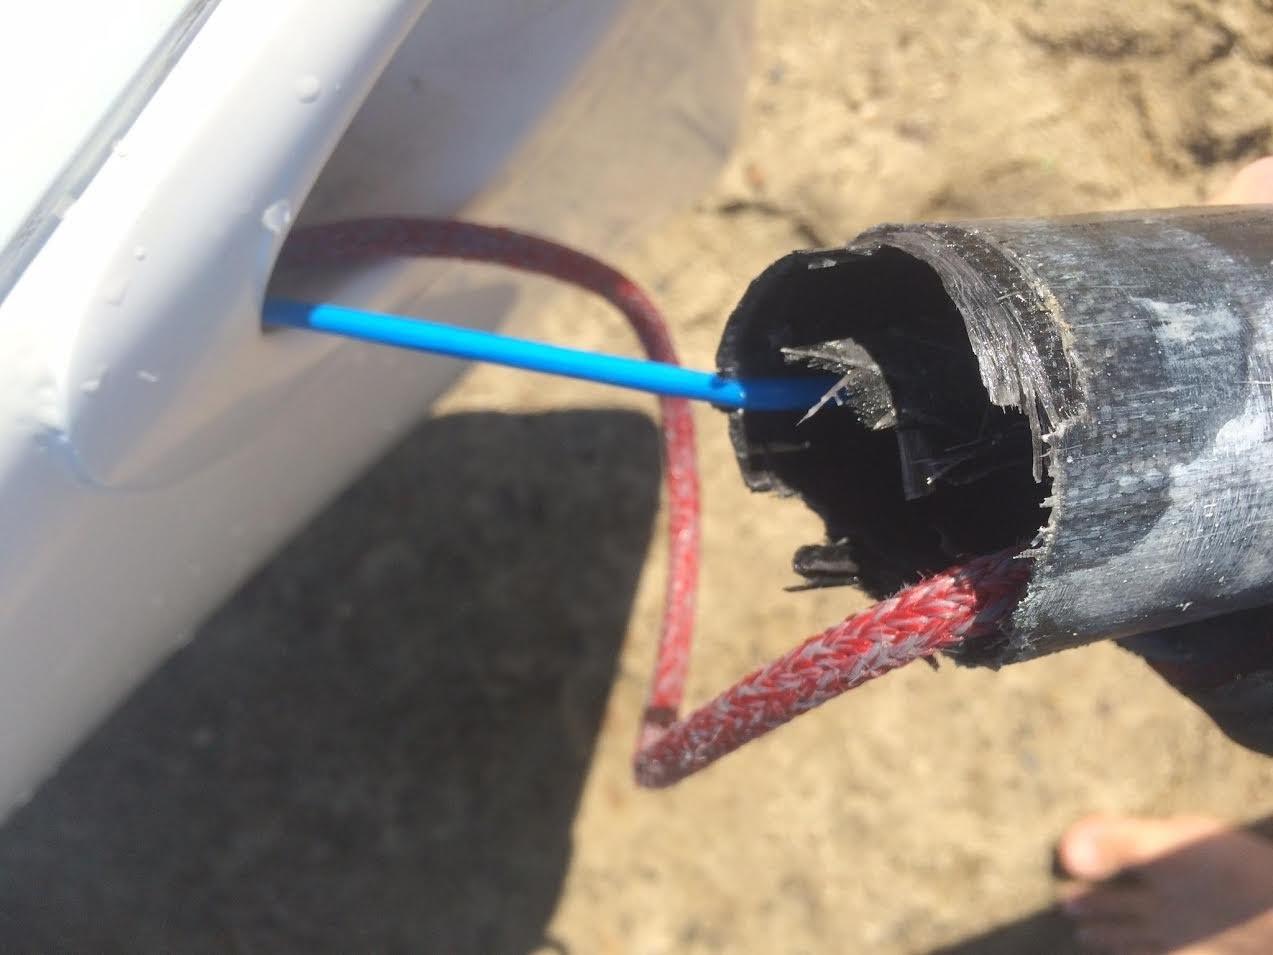
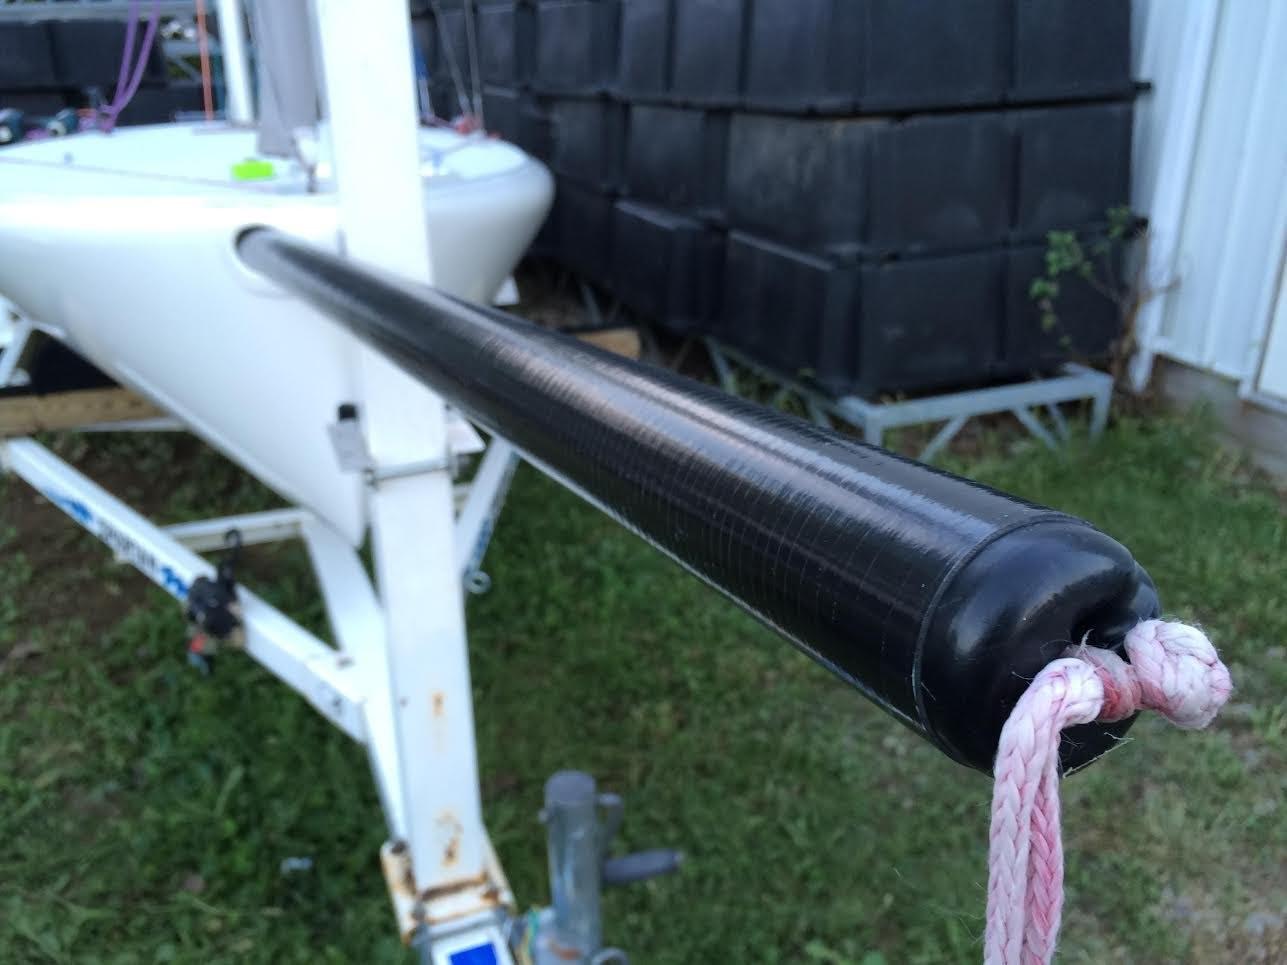
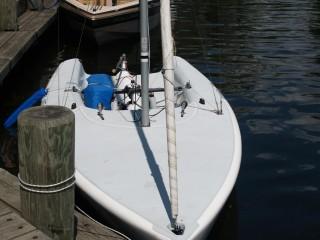
- BIG note on replacing this is the POLE OUT LINE! DO NOT let it retract into the tube as you remove the pole! Tape an extension line onto it that will run through the blocks. Here's some advice if it gets away from you: Bow Sprit Launching Line Question
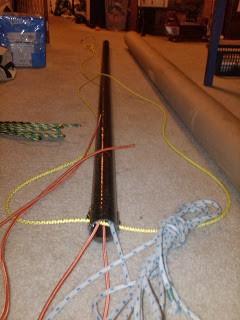
Forte carbon (in Connecticut) built me a pole using my then existing fittings (same tack cap and blocks in the butt end). (in November 2008) here's my post from 2010 about logistics of replacing it...big issue is the extension line... you need to make sure to tape a long extension on the tail end before you pull the pole out!
-
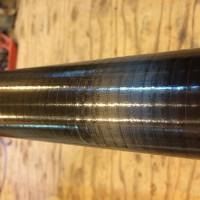
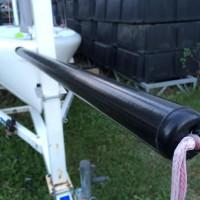
"New pole is in! Ordered it from Offshore Spars, they have a really cool production process, they hand lay pre-preg Carbon, vacuum bag it, then heat cure it in a pressurized oven. Should hold up well!"
Stays
- Forestay
Tip: If you snap your forestay while sailing, tie the spinnaker halyard to the tack line.
- Keep the wire from your old jib to use as a forestay if you store your boat with the mast up!
- Furler Drum
- Shrouds
Tip: If you snap a shroud while sailing, just sail home without tacking. No problem!
- Uppers
- Lowers
- Triangle Bungee
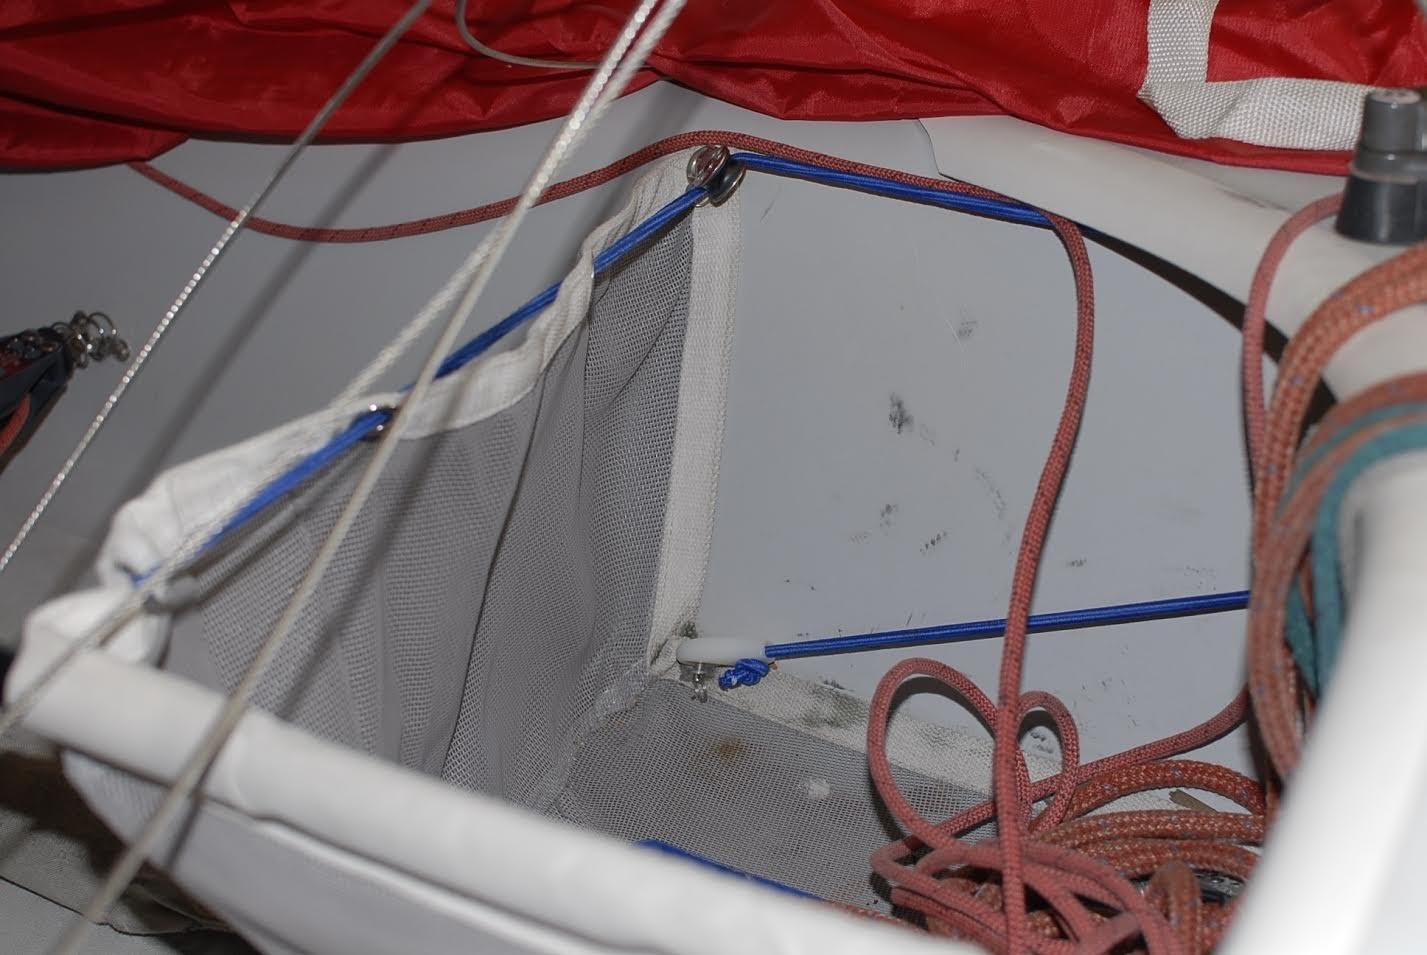
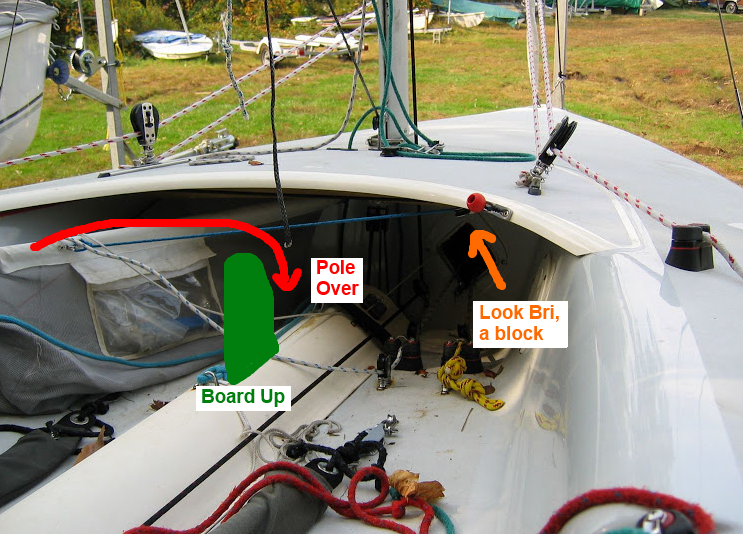
- An optional section of bungee cordtied across the shrouds at the top of the lower shrouds will help with spinnaker launches. The spinnaker head has a tendency to wedge between the shrouds and mast if the hoist is faster than the tack line in. This can damage the kite, put it in the water (going shrimping!), and just isn't fast. The bungee should keep most launches from getting jammed; it can still need help but won't be nearly as hard to get loose.
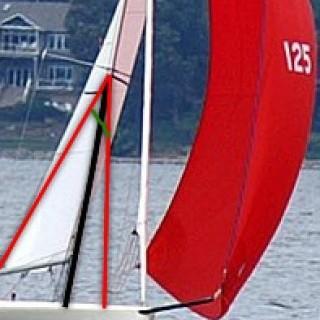
Bungee shown in green on lowers shown in red

Blocks & Cleats
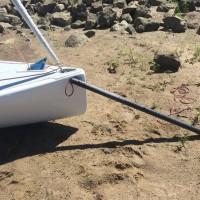
- Outhaul
I broke the outhaul on Wednesday night. Not too bad considering the line is original from 1995.
I tried to tug it tighter, since the foot was flogging a bit and just snapped it outside the boom luckily.
I took the boom off and tried to figure how to run it since I didn't know what purchase was inside.
~5^3 skipper- Supplies:
- A replacement bolt for the mast end plug, since the bolt was fairly corroded.
- A new 4mm replacement outhaul line (15 feet) out of the sale bucket at APS ( I think it may be 5mm line, but 4 will work fine and holds in the cleat without issue)
- A feeder/messenger line ( I had 18 feet which was plenty- by about 5 feet or so)
- Tape the feeder line to the bitter end so you can ease enough to put the floating block out the end of the boom. This allows you to tie the new outhaul line on.
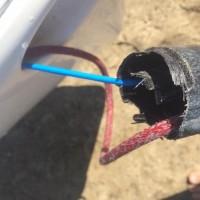
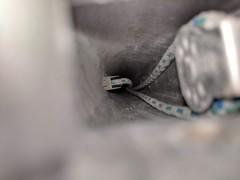
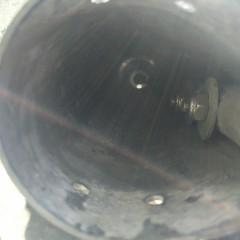
- You don't need to remove the mast end toggle to replace the outhaul line (that the pin fits through to attach it to the mast),
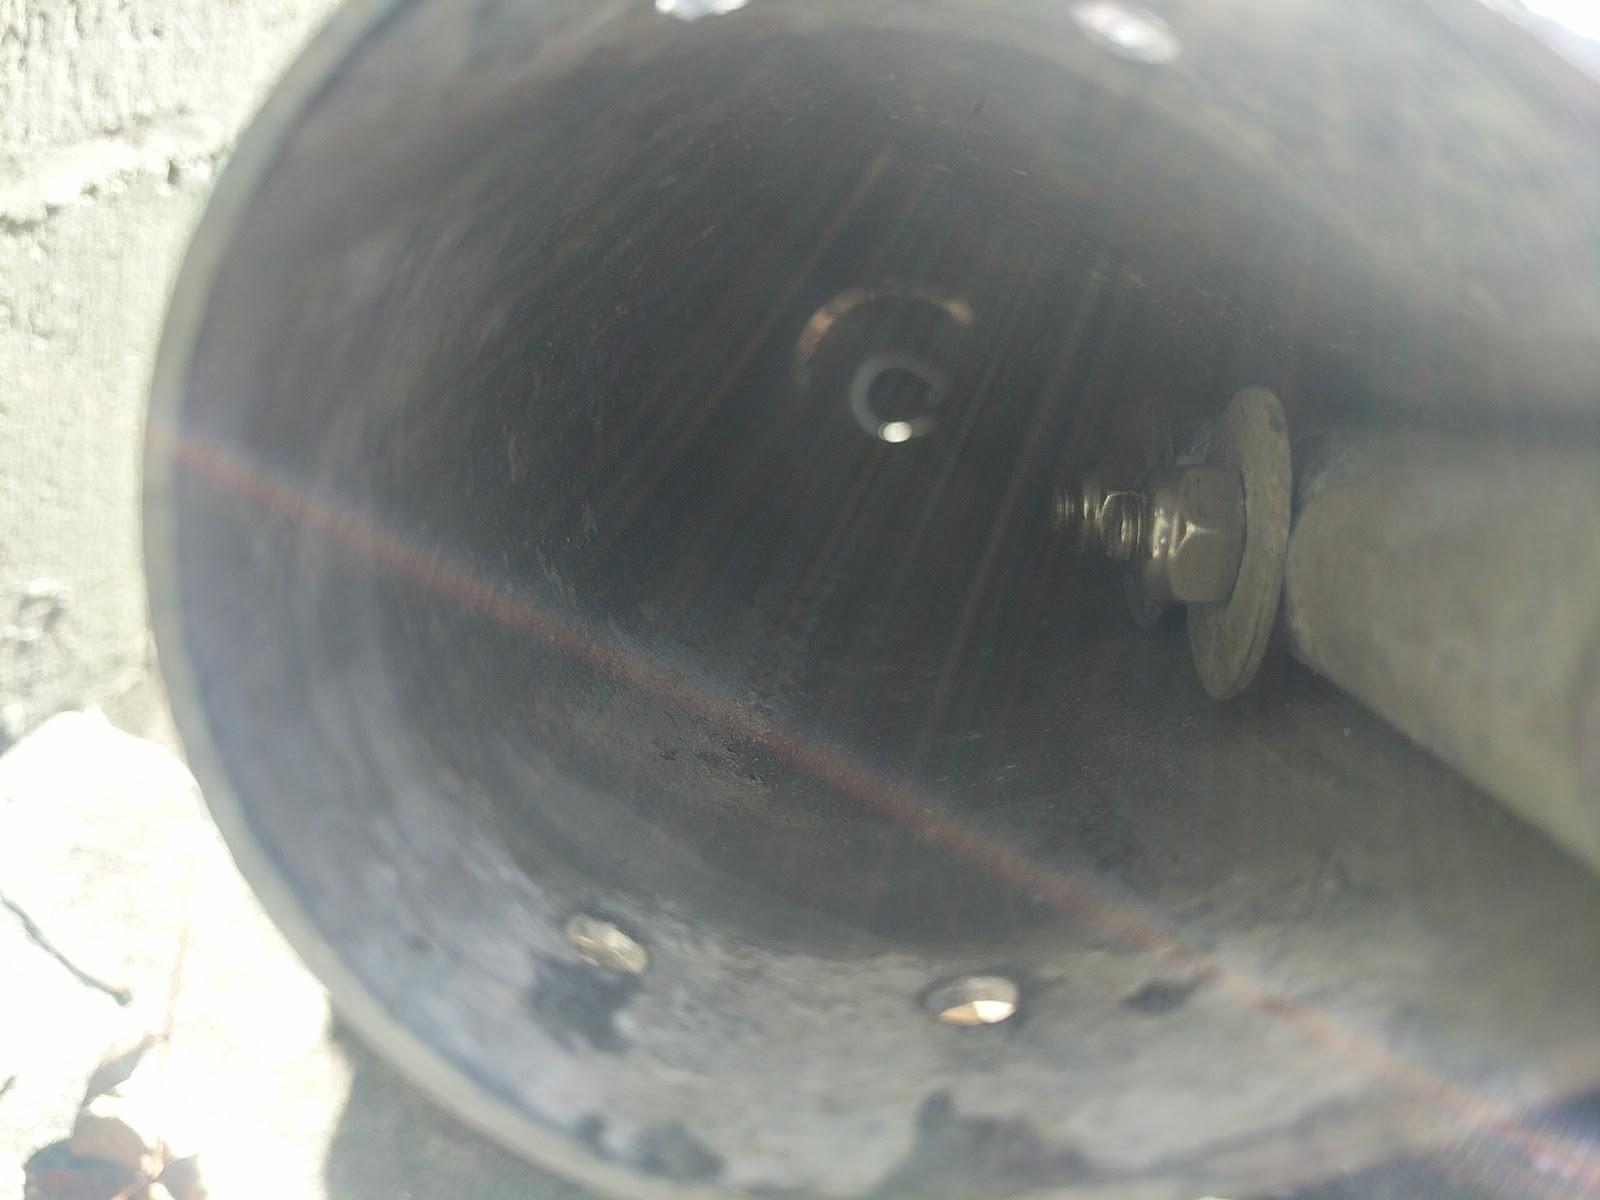
but if you do you can inspect where the outhaul runs when it goes into the boom. Get that bolt out without drilling after some WD-40 and pounding it backwards with a smaller bolt: - The second photo shows the fixed block bolted/screwed inside the boom where the outhaul line turns at the mast end (blurry edges are the outside of the plug still in the boom with the toggle removed.)
- Tape the new line to the broken outhaul line with electrical tape and ease it through by pulling out the sail/clue end cable that lays inside the boom until you get the moving block out the stern end of the boom.
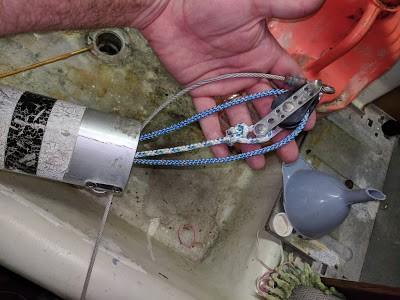
- This is what the assembly looks like (with cable crimped after it was threaded through the sheave; so if you want to replace the cable you'll need to be able to crimp it AFTER you run it through the sheave):
- So as you can see the old line is white and the new blue line has run through this block.
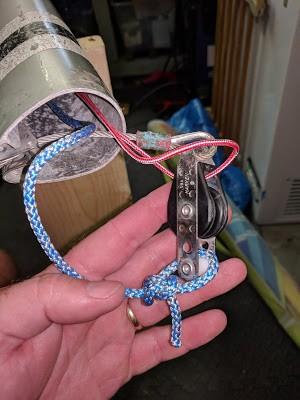
- To to have enough line to get to the butt end of the blue line you had to keep pulling, so tape a red messenger line to the other end of the new blue outhaul line:
- Untape and tie the new outhaul line to the block, then just put the block back into the boom and pull it all back snug being careful to not unstick/separate the messenger from the new line until it's back out of the pinch cleat near the mast end of the boom... easy!


- Backing washers
- It seems some bolts and washers on some Johnson 18's aren't stainless. We have yet to devise a pattern on where they are used.
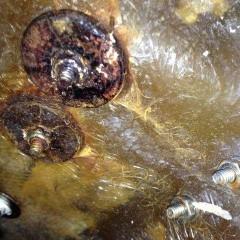
- I recently added a swivel extension for the main sheet. When I went to remove the screws of the aft-most main block on the spine, they were frozen to what I assume is an embedded aluminum plate as there were no nuts. 3 out of four broke on attempting to gently remove them. I took a while to get them off and the holes cleared. I wound up through-bolting them while worrying about centerboard clearance. I think it worked out in the end but I had about for hours into that (4 screws). I removed the two main sheet cam-cleats on the tanks only to find completely rusted out backing washers that crumbled when turning the screws. My pole and tack cam-cleats were pretty beat,with a broken spring in one, and would re-engage in the douse. I took these off for service and they too were backed with crumbling steel washers. As I look over the boat, most of the hardware shows signs of rust at the fasteners.
- I just found a rusted nut inside the mast on #181, built by JBW. It was on the back of the vang turning block, and it was regular steel. The other nut was stainless, so it looks like it was just a mistake. I haven't seen any rusted hardware on my boat, #132. But I have found a lot of galvanic corrosion in the backing plates like you did. It looks like JBW used thick aluminum plates glassed into the deck during layup. They were drilled and tapped for stainless bolts, which now have completely galled threads on my boat after 22 years. I broke off several . bolts while removing the spin halyard cleat and the spin pole tube flange. I drilled out the bolts and re-tapped the holes, but what a PAIN! I broke 6 drill bits on 5 bolts...
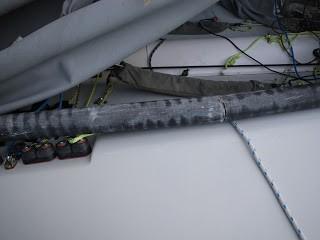
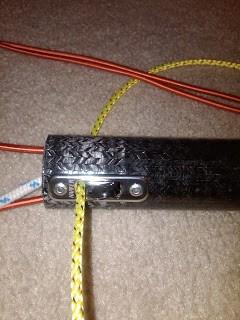
- Boom Vang Turning Block
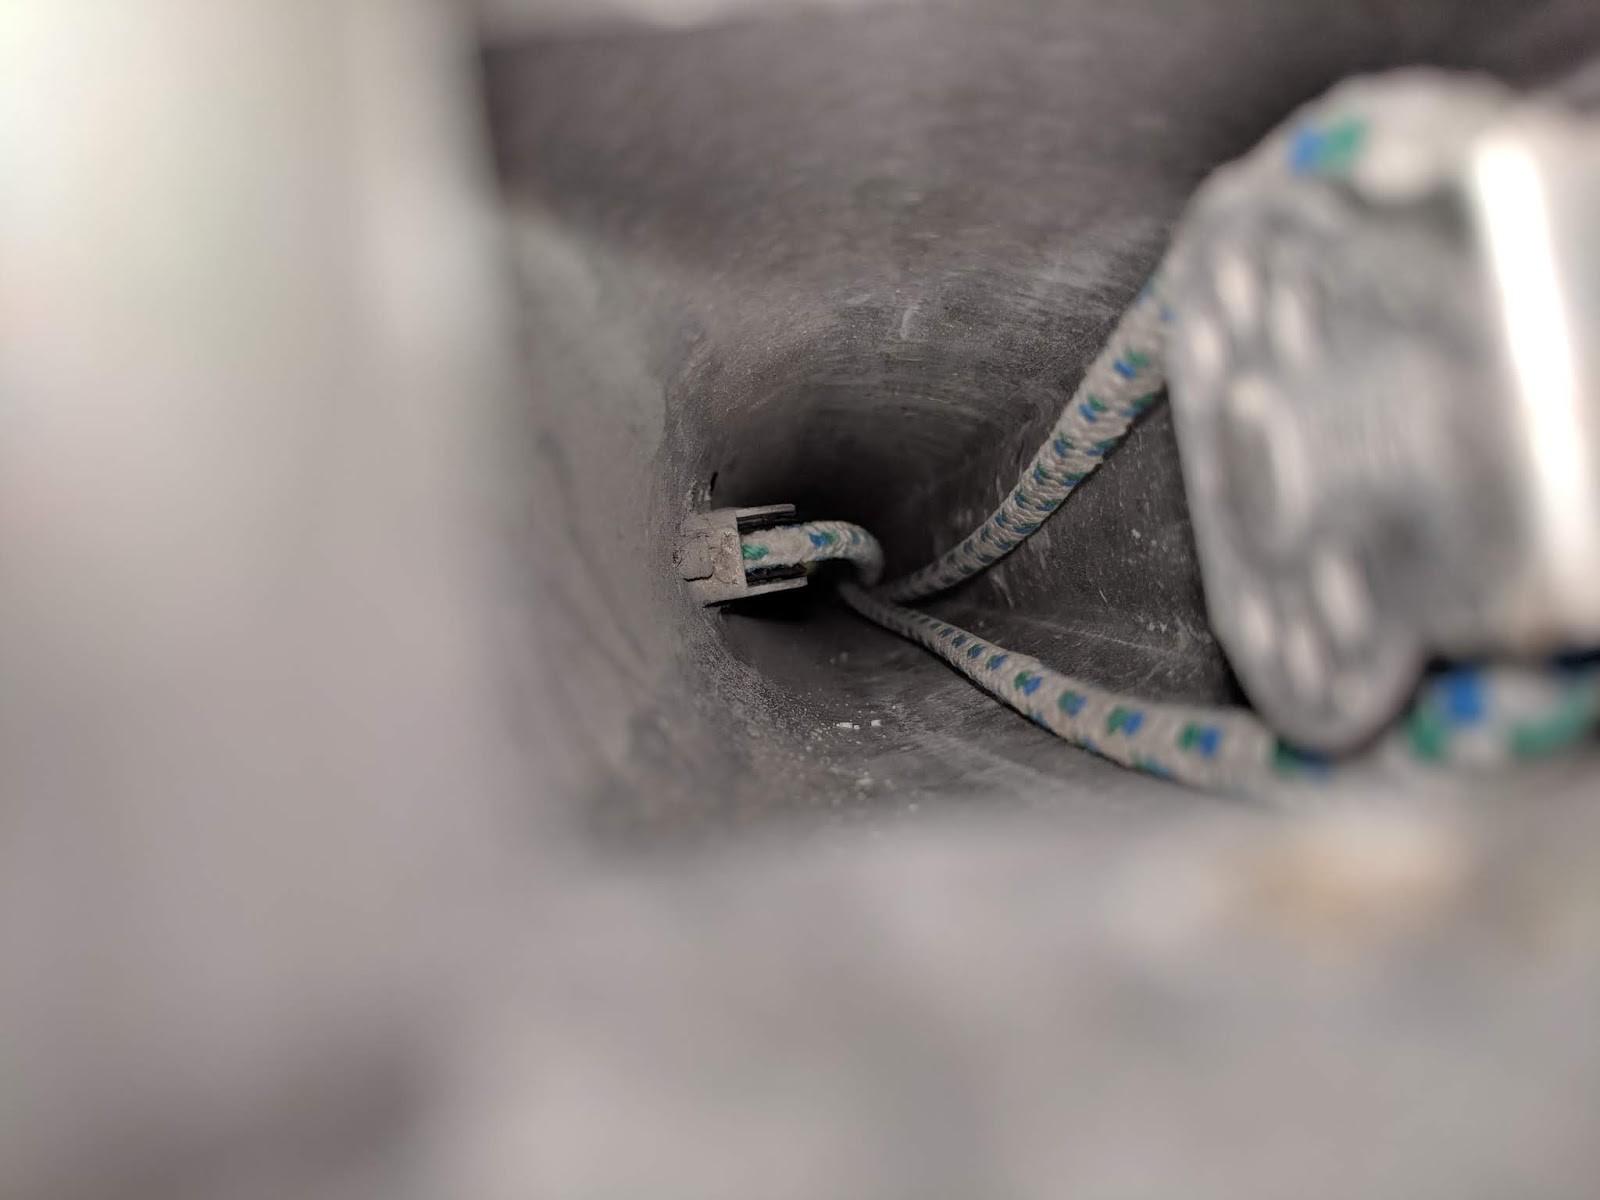
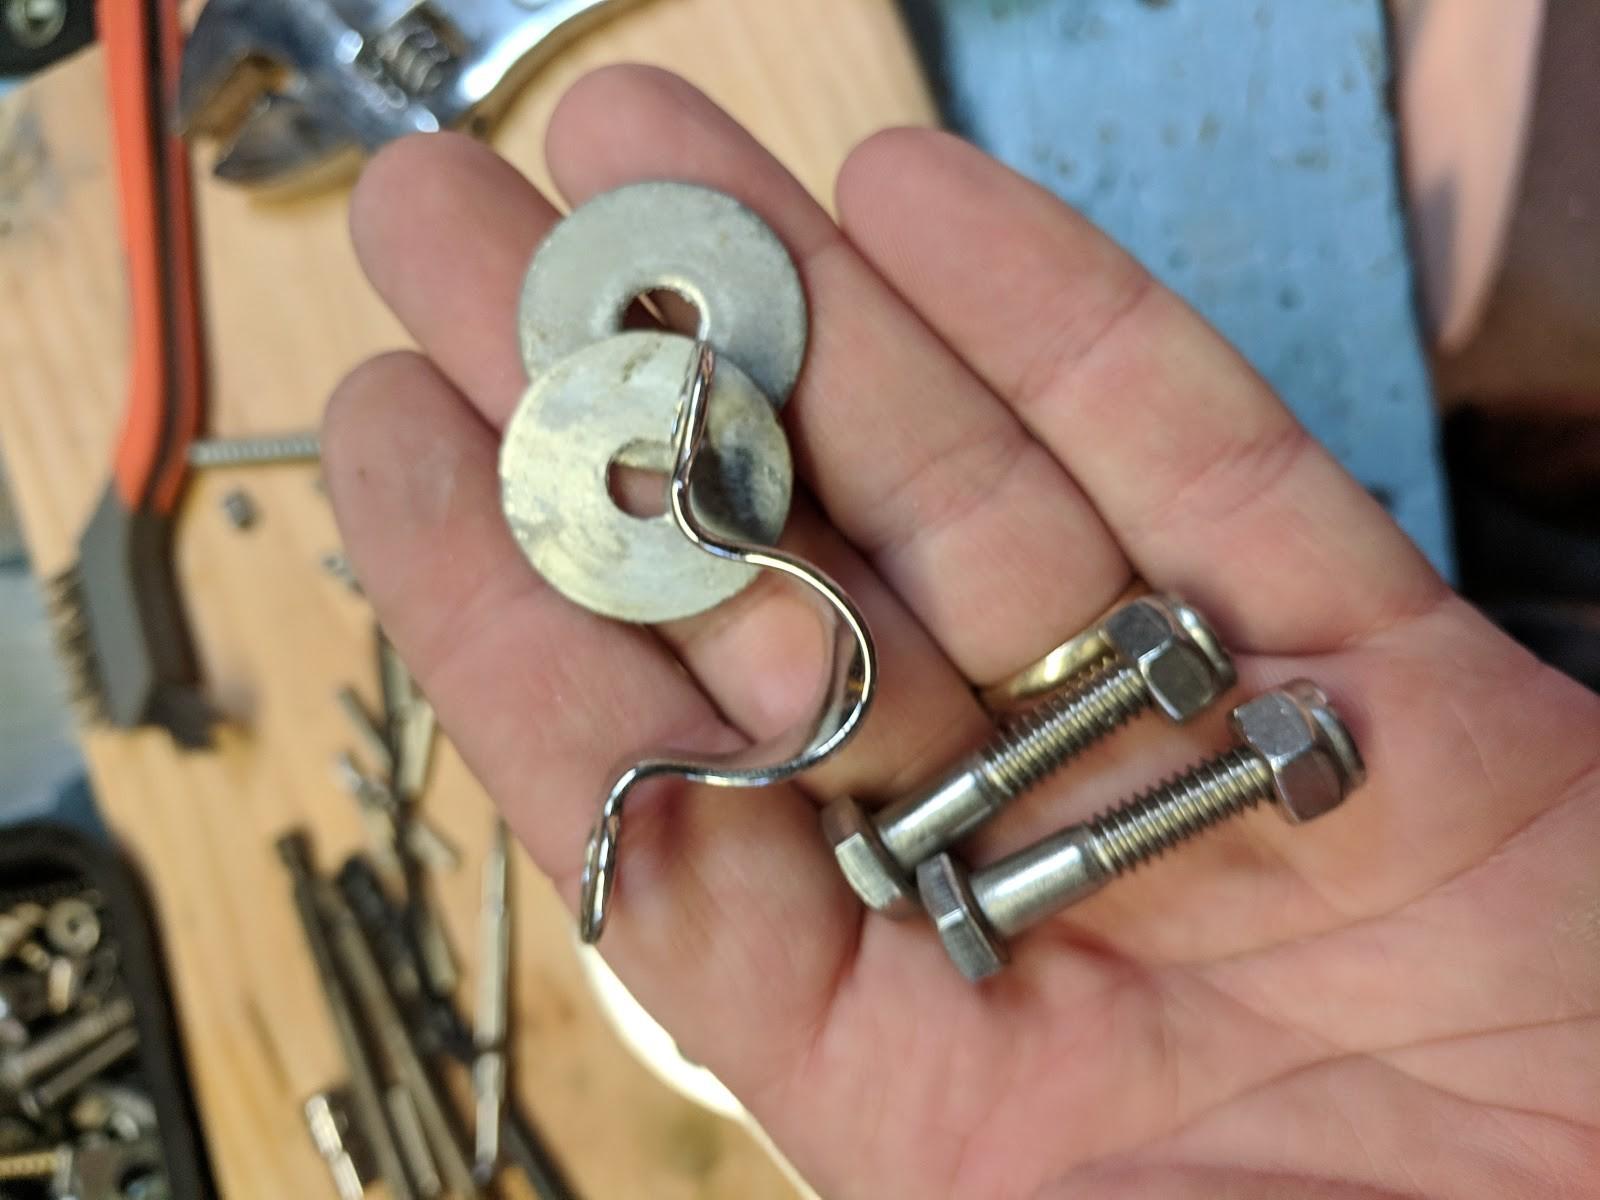
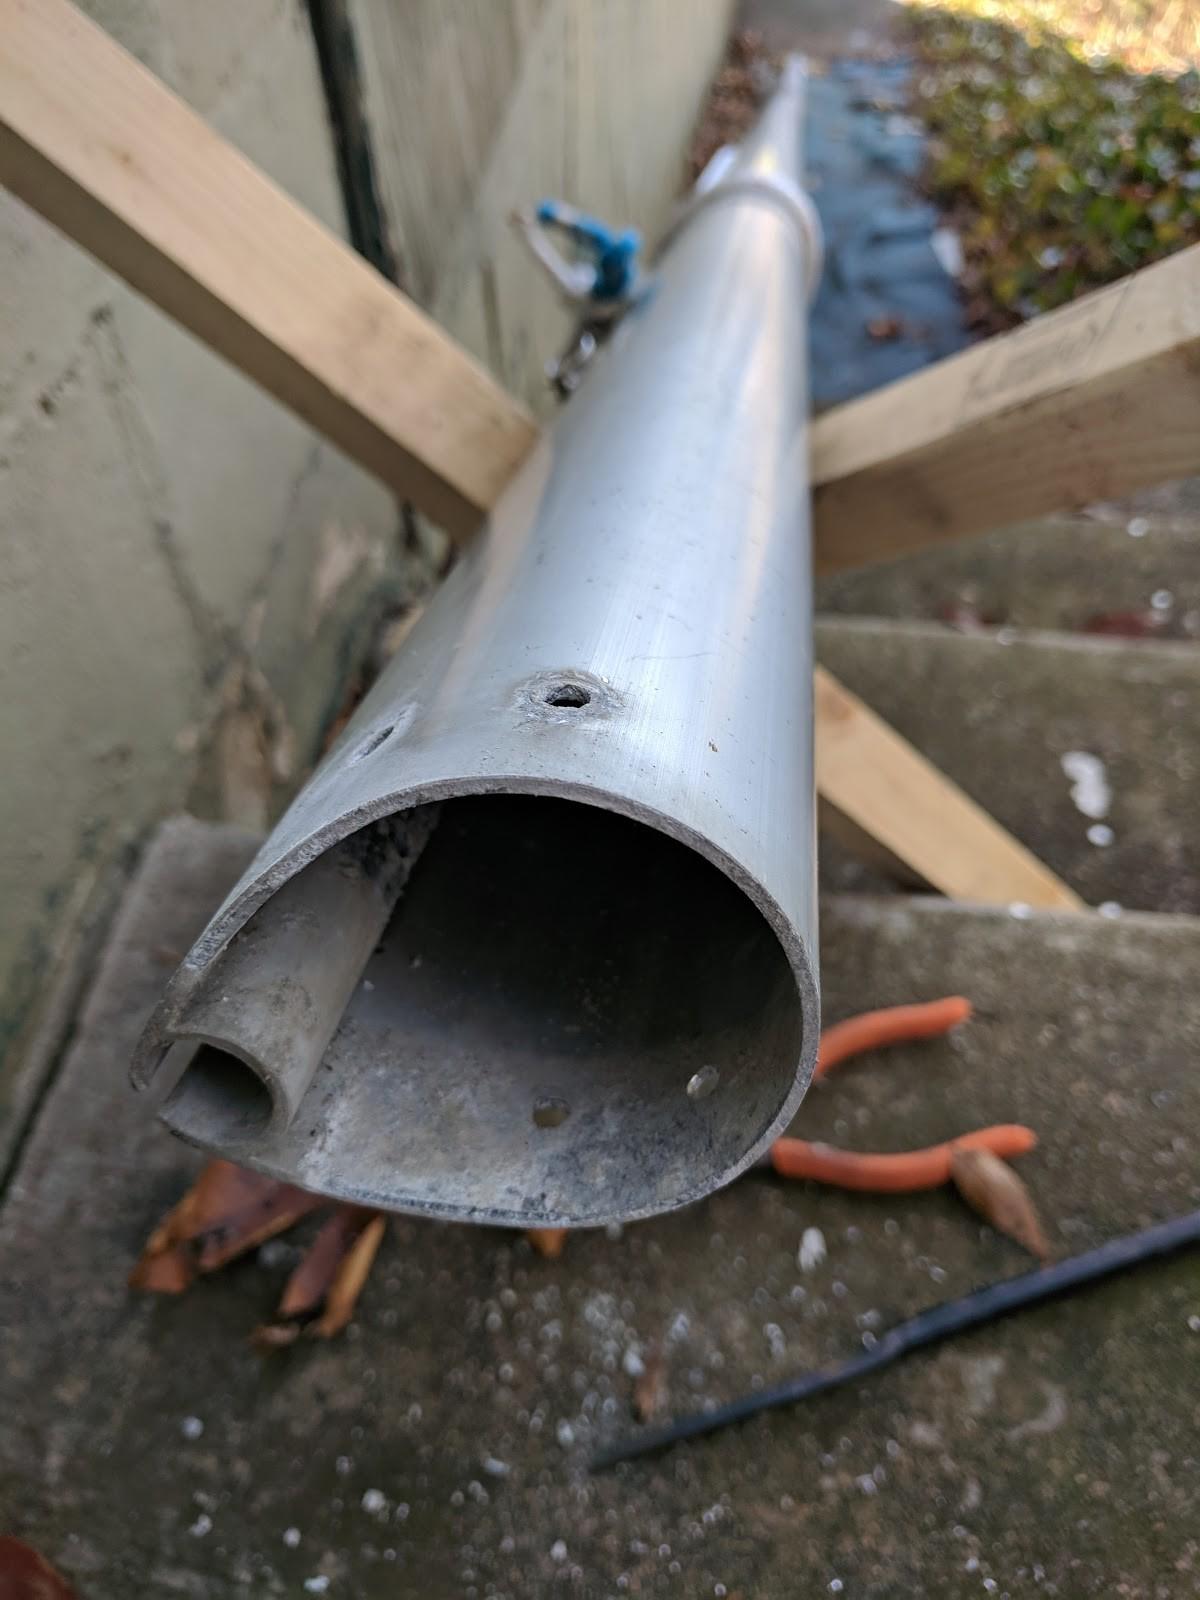
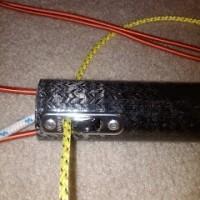
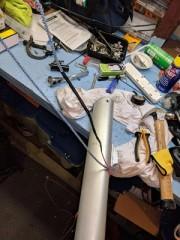
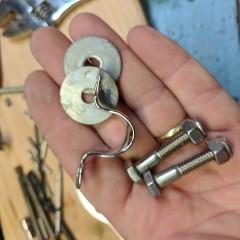
- Late this season we broke the strop that hold the vang turning block (and feeds it through the deck). [Incidentally, this is also the same block that puts a hole in the deck when you haven't disconnected it and you lower the mast]. So we finished the season with the block tied using a spare length of line. I took the mast off the boat to fix this. here's the new bolts and strop:
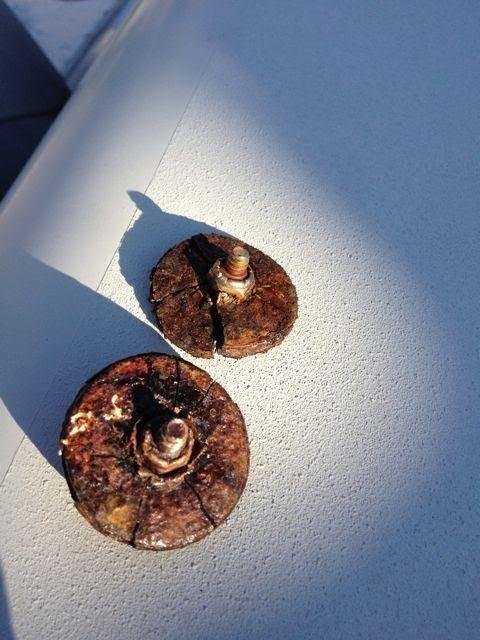
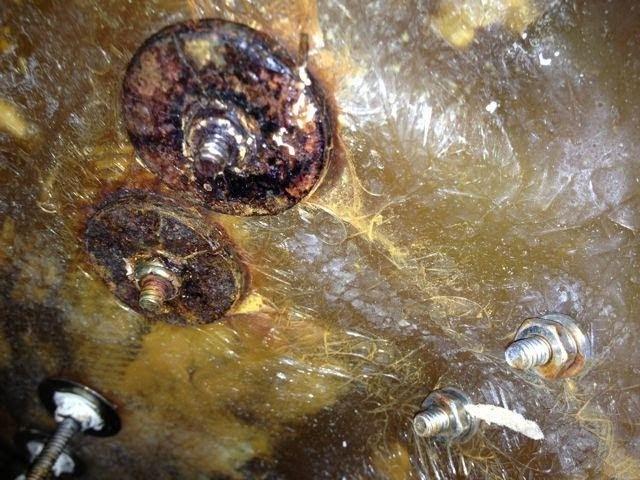
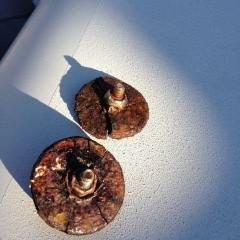
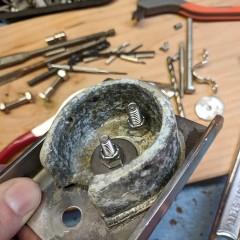
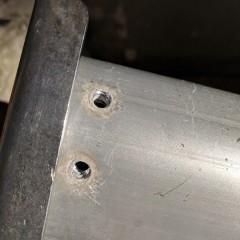
- My mast base plug has been broken for a decade- the bolts that hold the plate to the plug have been free turning for as long as I can remember. This has the benefit of making it easy to fit the pin through the plate when stepping the mast since the plate has been flopping all around. However, I finally had occasion to drill out the 4 pop rivets that hold the plug into the mast, since the only way to access the nylon-nuts that hold the strop on is to remove it. So drill out the rivets and here is what you get (after I removed the old screws and spinning locknuts:
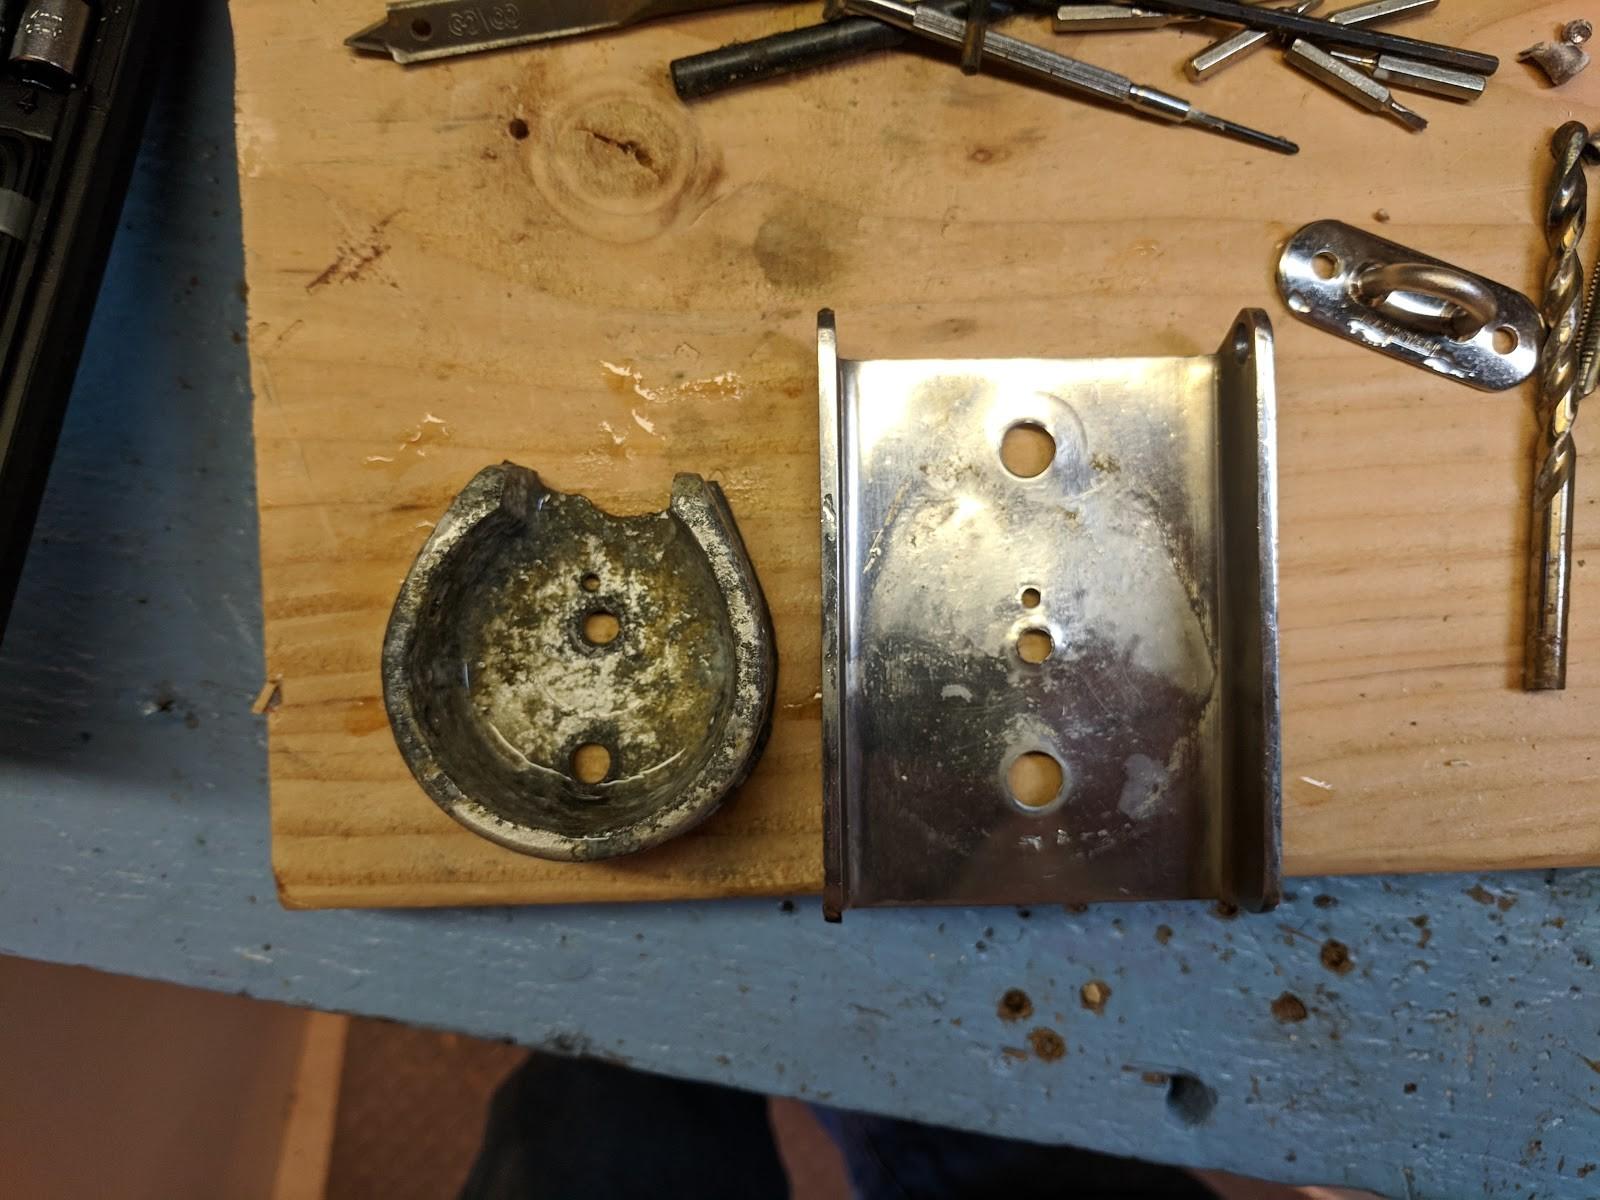
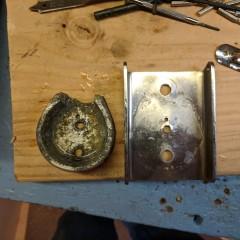
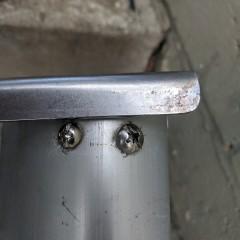
- I think this plug originally, had 3 holes and screws through it. The rigger that straightened my rig 8-10 years ago started to drill a new hole (the tiny 4th hole int he plate) but decided to leave "as is." The point is that the back of this plug got broken off and I've not needed to do anything to fix it since the mast doesn't move much at the base when stepped. After scraping with wire brush and installing new SS screws and locknuts (I added a SS washer too)
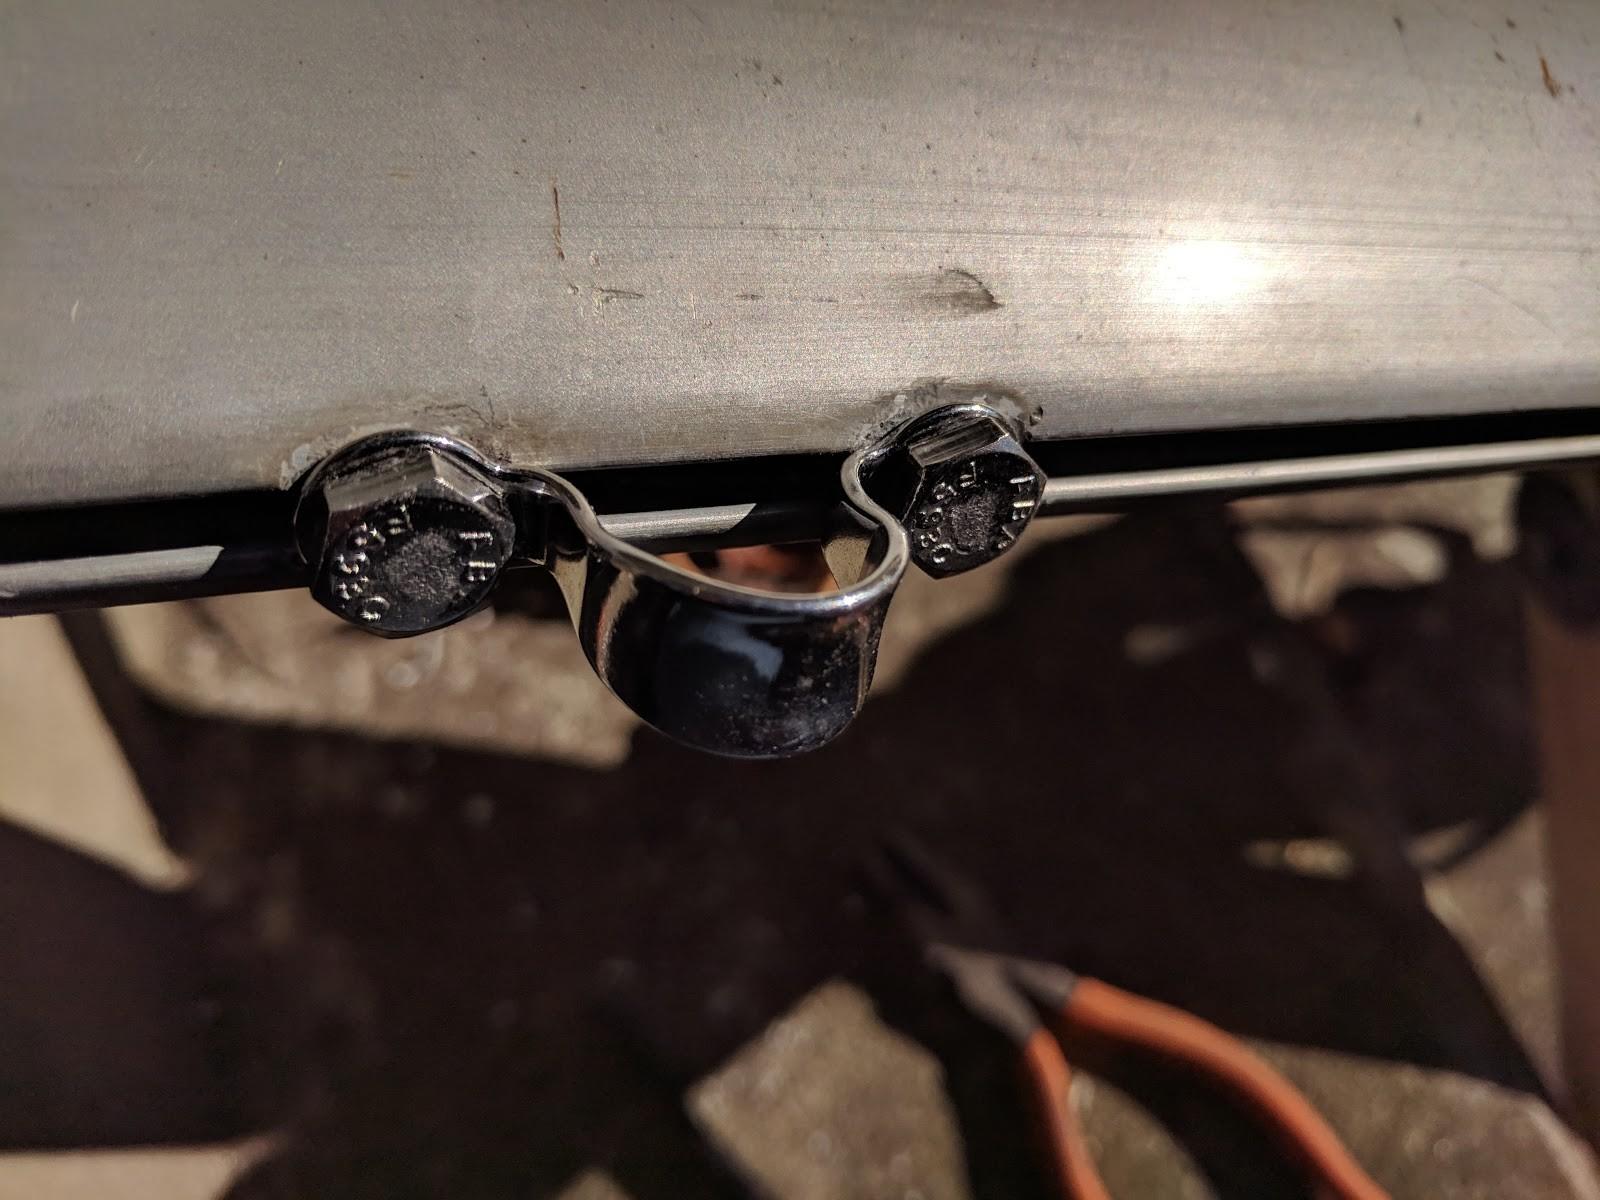
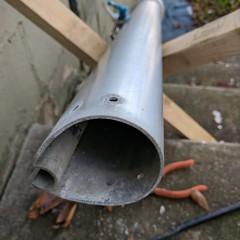
- The mast looks like this (see backing locknuts and washers and holes for rivets):
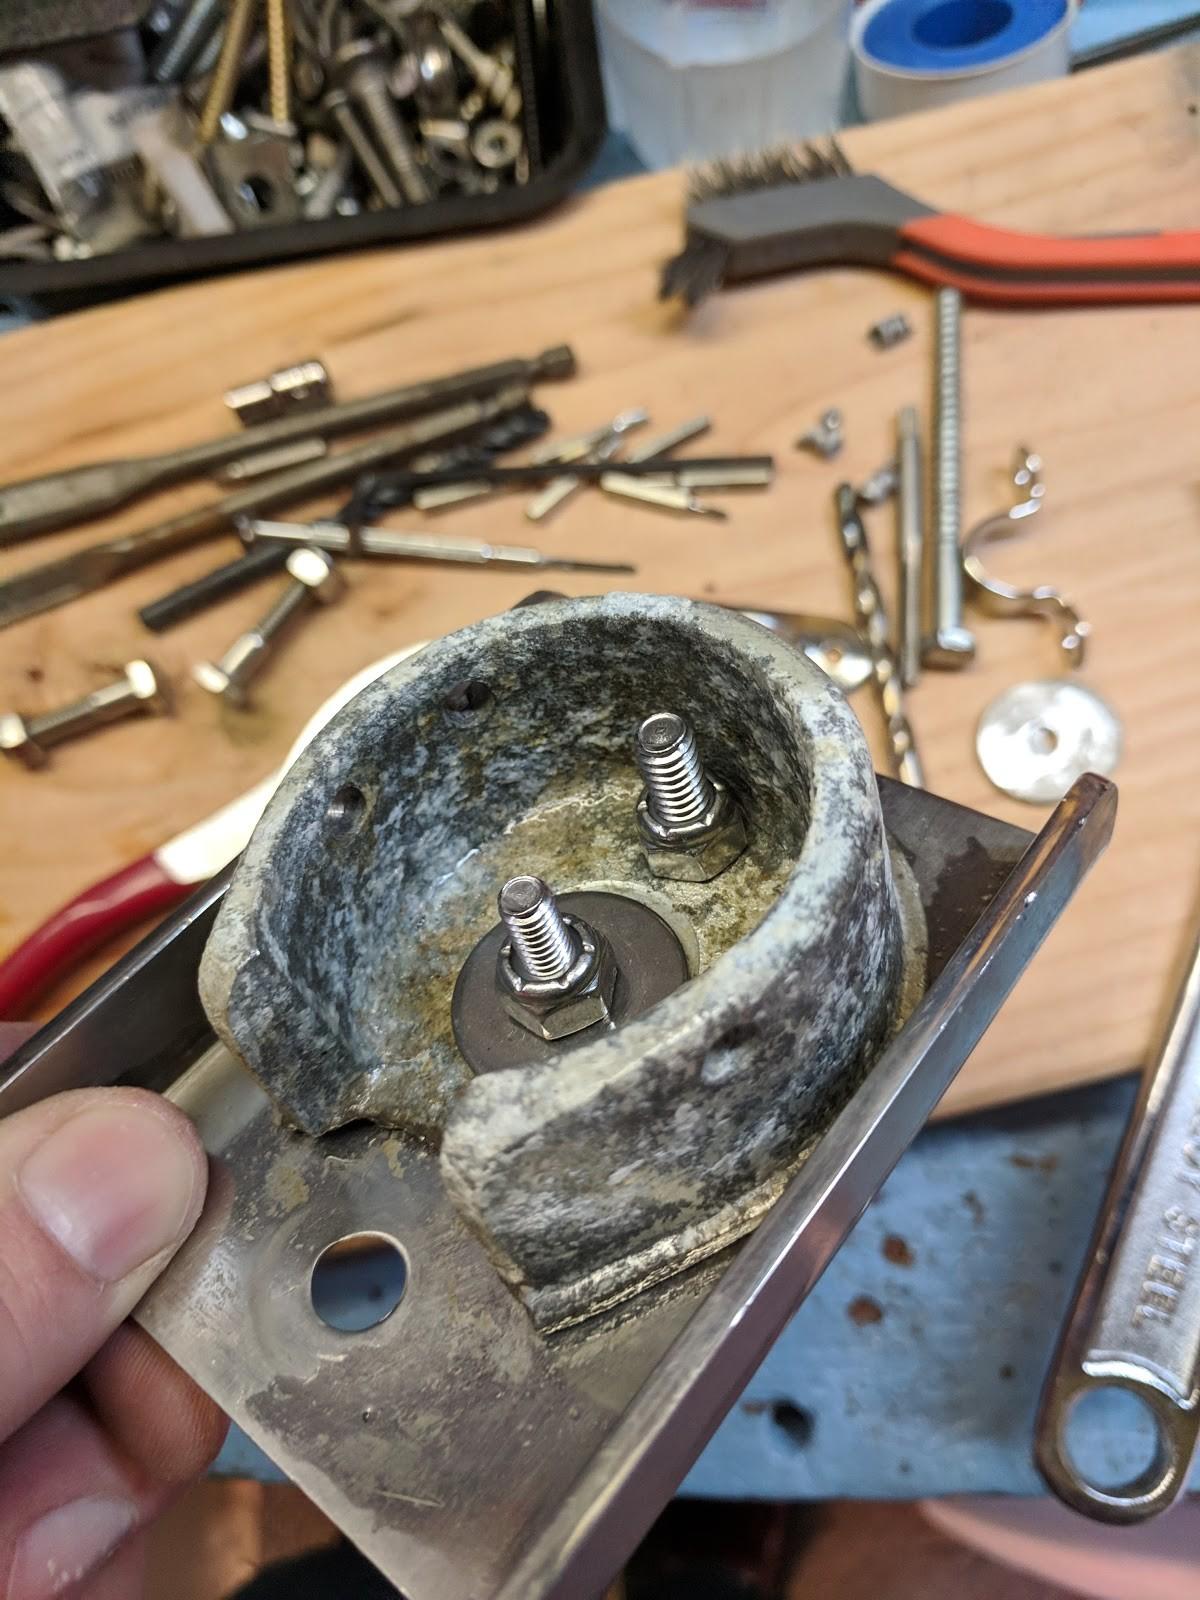
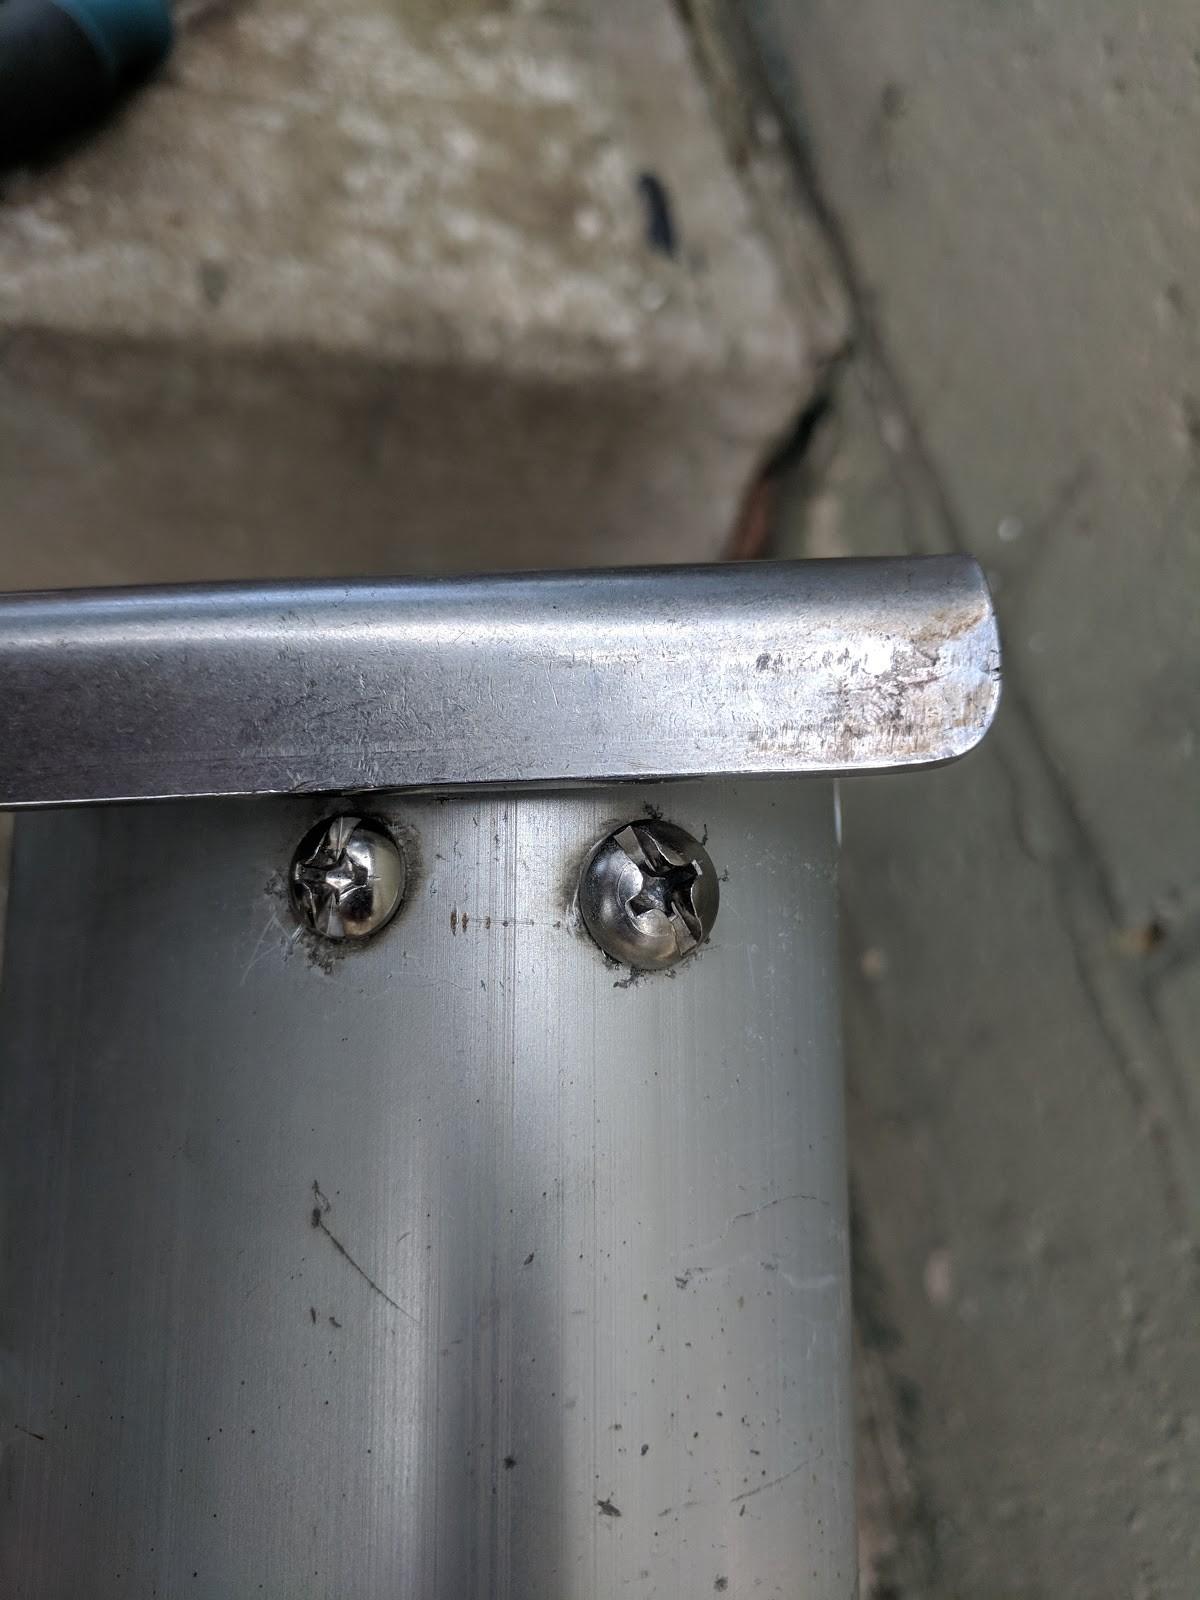
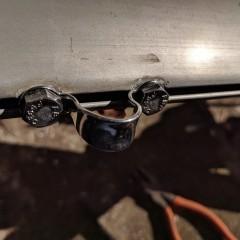
- So I bolted on the new strop, and then I decided to not pop-rivet the plug back in so I tapped the holes with a #16- 12-24NC - machine screw - tap.
- Which worked great for 3 of the 4 holes (look at holes carefully to see the new threads) But one of the holes was more corroded and the 12-24 SS screw slipped, so I retapped with 1/4 inch tap and used the larger screw (the head is a bit bigger):
- Rudder Adjustment
- Centerboard Adjustment
- Hiking Strap Adjustment
- Spinnaker Bag Controls
- The blocks are attached to the bolts in the hull with small eyestraps - something like this: APS item: RWO R2849